
|
I overlooked Mugwort (Artemisia vulgaris) for many years as an herbalist. It’s not super common in herbal texts and neither is it a very showy plant. But herbs have an uncanny ability to come to you exactly when you need them. This was Mugwort for me. I started growing her in my garden this past summer and soon realized that this seemingly humble plant is actually quite magnificent. My Mugwort grew to be about 5 feet tall with a firm stalk and stunning silver-green leaves that shimmer in the wind. She was constantly covered with pollinators and stayed lush during our lengthy drought when other plants withered. Though tiny, her dainty white flowers hold both a floral and woodsy aroma unlike anything I’ve smelt, yet also smelling like my childhood (or past lives?) at the same time. A plant I had erroneously perceived to be lack-luster is now a star in my herbal apothecary! Mugwort is lovely to use in teas, smoke blends, and incense, but I’m currently really enjoying her as an infused oil. Thus, this post. Below you will find a brief Materia Medica on Mugwort and a simple, foolproof recipe for an infused oil using fresh Mugwort aerial parts. 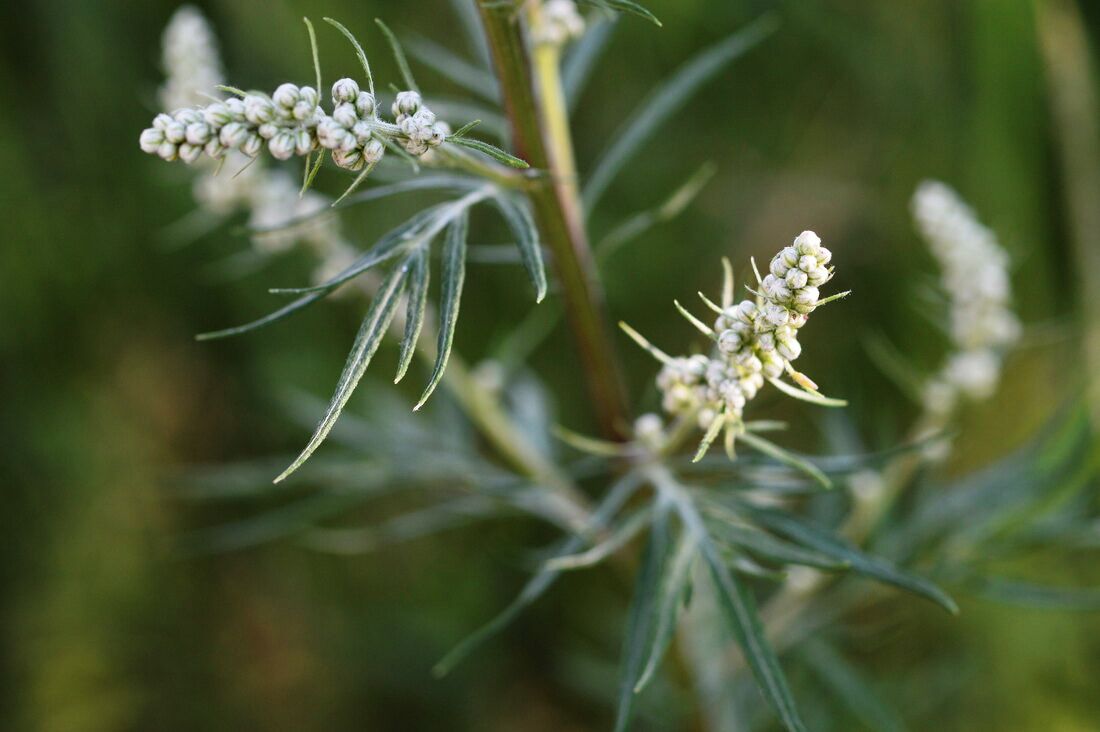 Common Mugwort, Artemisia vulgaris (-anna-Creative Commons) Mugwort Materia MedicaName: Common Mugwort, Artemisia vulgaris (etymology: Artemisia from Ancient Greek "ἀρτεμισία" or "Artemis the goddess"; vulgaris from Latin "common") Family: Asteraceae Parts Used: aerial parts (leaves before flower for digestive support & antiparasitic activity; leafs, flowers, & seed heads after flowering for dreamwork); roots (fall harvest) Actions: antibacterial, antispasmodic, bitter, carminative, diaphoretic emmenagogue, mild nervine, vermifuge Uses: Mugwort should be considered for those who: - Deal with physical imbalances rooted in coldness, stuck-ness, stagnation - Want to explore shadow and/or dream work. Physically, Mugwort is a heater and a mover. Its warming nature is especially beneficial in bringing blood flow and nourishment to the lower organs: kidneys, gallbladder, liver, stomach, and reproductive organs. Moxabustion, the practice of applying a special preparation of dried Mugwort to certain meridian points, is commonly used in TCM used to dispel cold, strengthen Yang-Qi, remove stasis of the blood, and dissipate stagnation (PSA: if you deal with chronic constipation, try Moxa on your Stomach 36 acupressure point with a trained professional or someone you trust!) Mugwort, a close sister to Wormwood, carries a few properties that make it excellent for expelling pathogens (vermifuge) and revving up digestion (digestive stimulant). As a bitter, it's filled with compounds used traditionally to not only increases stomach acid and bile secretion, but also expel parasites and return homeostasis to the microbiome. Its astringent and drying nature also helps combat diarrhea often associated food poisoning or parasitic infections. As a antibacterial carminative, it also soothes gas, bloating, and digestive discomfort. Mugwort might have the most notoriety for its use in the dream world, where its been used for ages to help individuals connect with the subconscious/preconscious layers of themselves that often come out when we sleep. Mugwort has been used to induce lucid dreams, improve memory of dreams, or help one gain meaningful insight into dreams so they can integrate them into their waking life. Smoking a blend of Mugwort, taking the flower essence, drinking a weak tea, or simply putting a fresh sprig under your pillow can all induce these very real actions. Form: Tincture: 5-20 drops 2-3x/day or before meals; Infusion: Steep 1 tsp. dried herb in one cup boiling water, drink 2-3 times/day; Smoke blend: mix with lung tonics like Mullein and Marshmallow & smoke before bed to calm and prep for stellar dream work or to sooth tight, boggy lungs; Flower Essence: 1 df before bed for calming dream work Contraindications/Cautions: Not recommended for pregnant (abortifacient qualities due to stimulating/moving nature) or nursing women or those with known allergies to Aster family plants
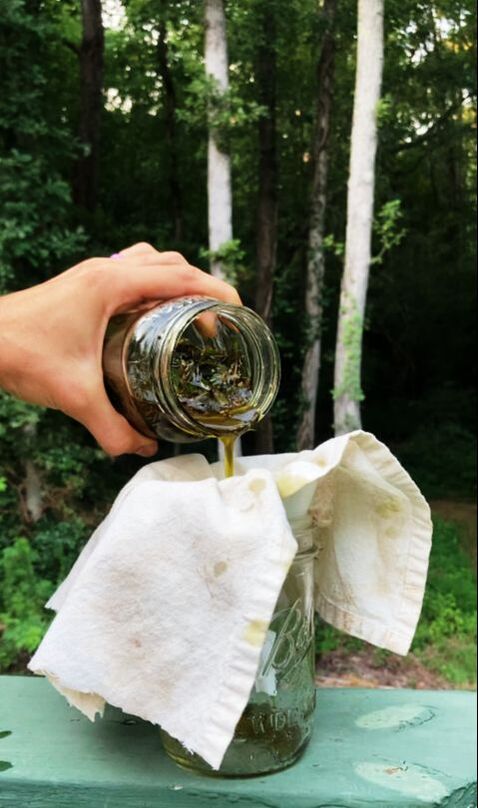
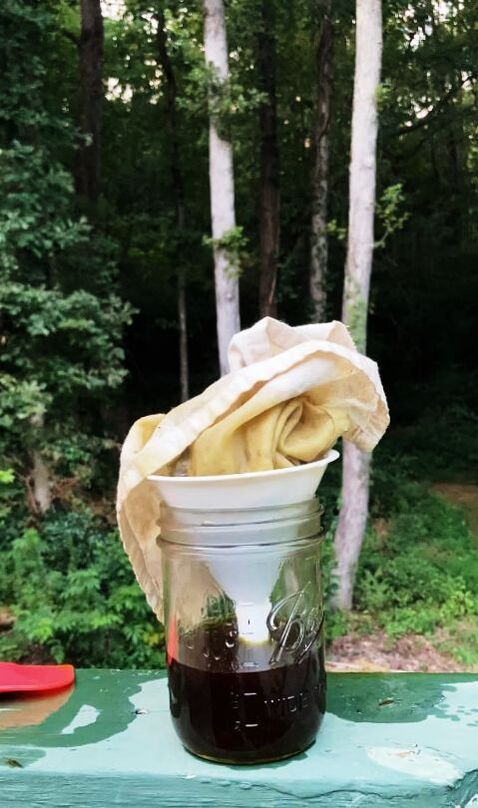
Mugwort Oil |
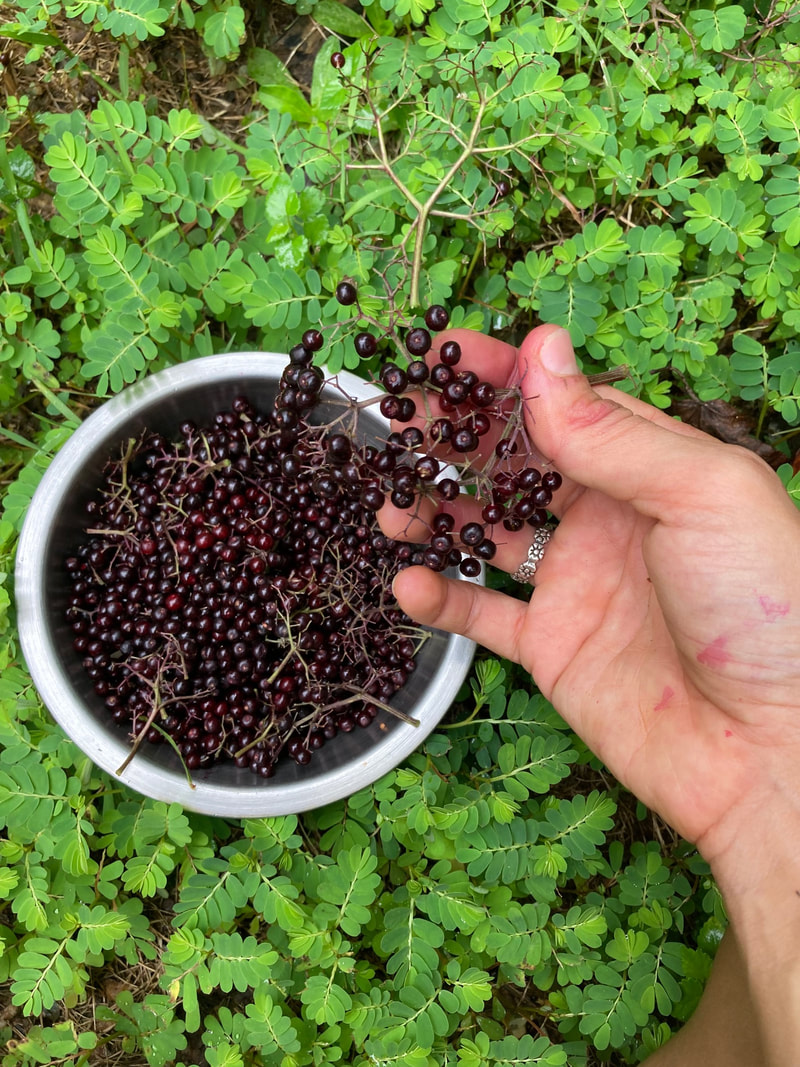 | 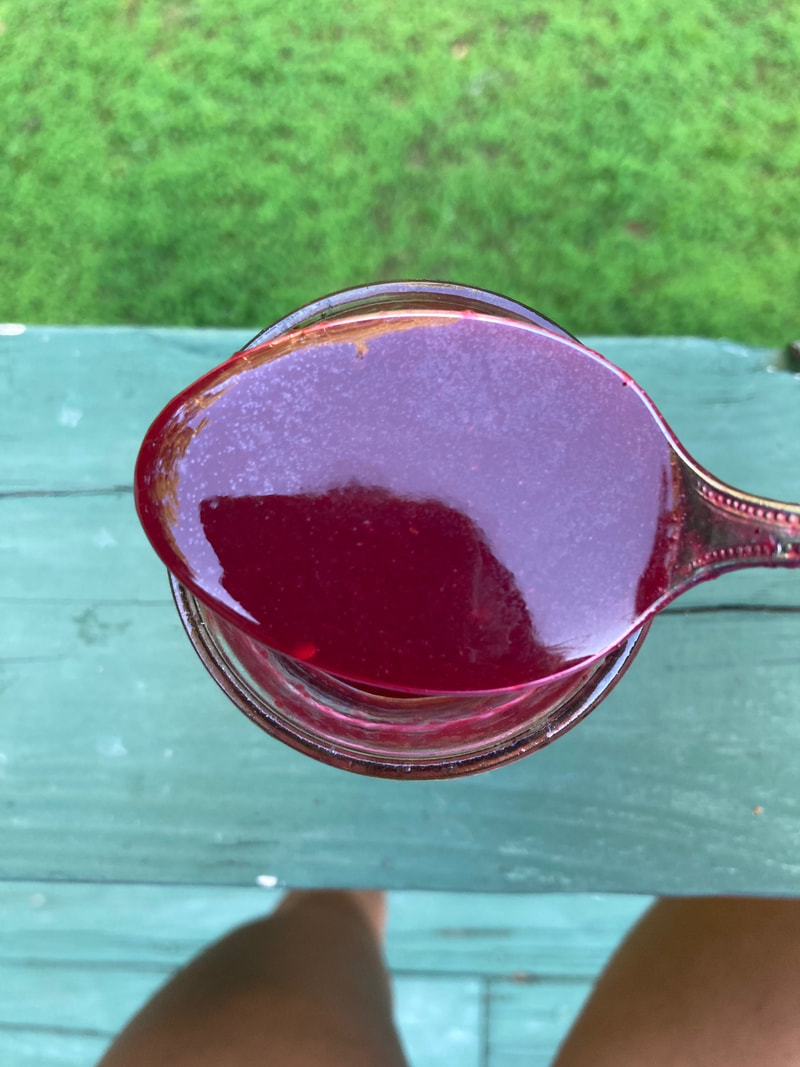 |
At this point, you want to measure the reduced juice so you can add equal parts of honey*. Mix well and let cool completely before bottling. Store in the fridge for up to 3 months. Take 1-2 tbsp throughout the day at the first sign of a cold.
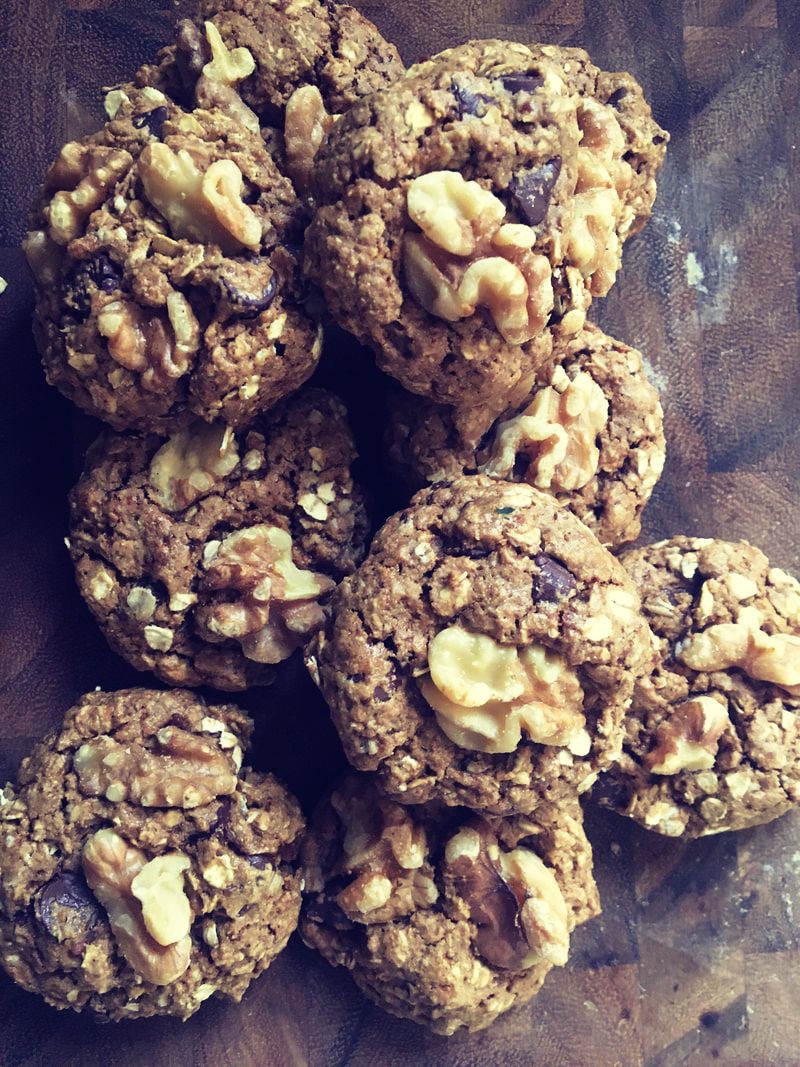 |  |
Ingredients
1 c blanched almond or pumpkin seed flour
1 c shredded coconut
6 tbsp coconut sugar
1 tsp baking soda
1 hefty pinch sea salt
1 tsp cinnamon
2 tbsp extra virgin olive oil or melted Ghee
1 egg
2 tsp vanilla
3 tsp flaxseed meal
1/2 or 3/4 c chocolate chips (depending on how much of a choco-holic you are)
1/2 cup crushed walnuts or pumpkin seeds
Directions
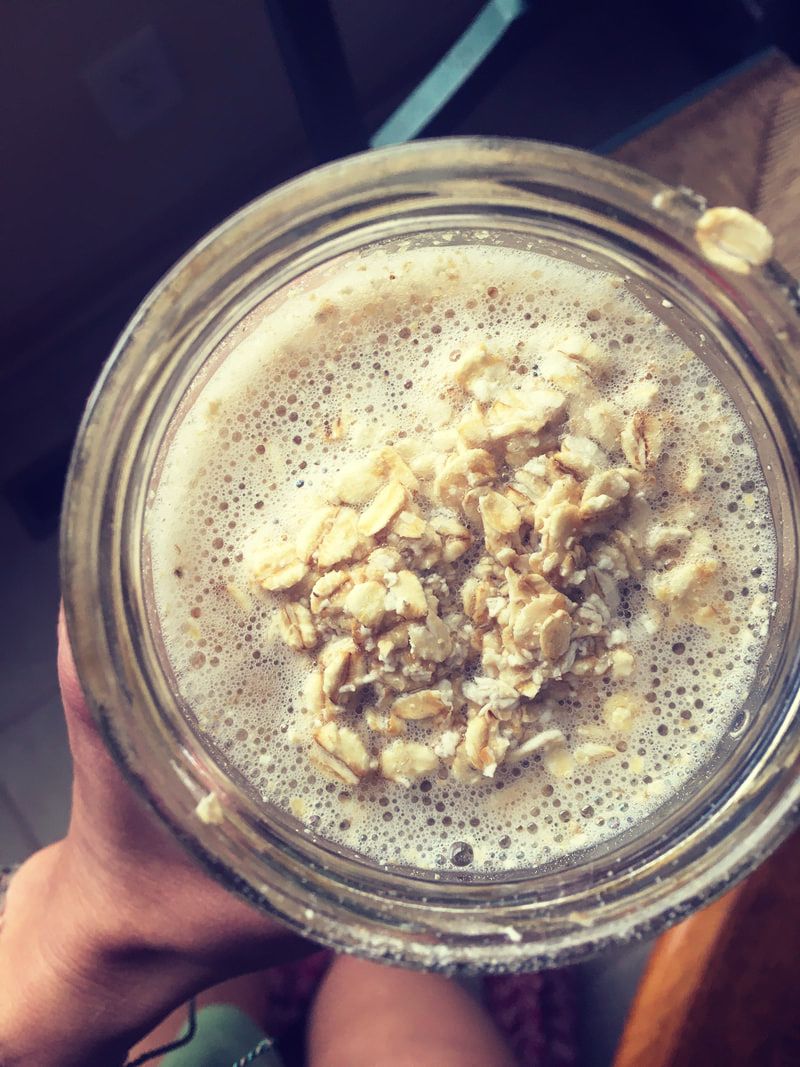
Next, add the "soats" (soaked oats), coconut sugar, olive oil/ghee, egg, vanilla, and flax to a blender or food processor and blend well. Meanwhile in a large bowl mix all the dry ingredients (coconut shreds, nut flour, baking soda, salt, and spices). Mix the blended wet ingredients into the dry and add the chocolate chips and/or nuts. You should be able to roll the dough into 1 inch balls with your hands. I like to lightly wet my hands to make this process even easier. Use your peace fingers to slightly press down on each dough ball so that it's about 1/2" thick (these cookies don't spread much on their own so you have to help them!), Bake for 15 minutes until just beginning to turn golden brown. Remove from oven, let cool, and enjoy! Store in an airtight container in the fridge for up to 2 weeks.
This recipe makes 12-16 balls depending on how big you make them.
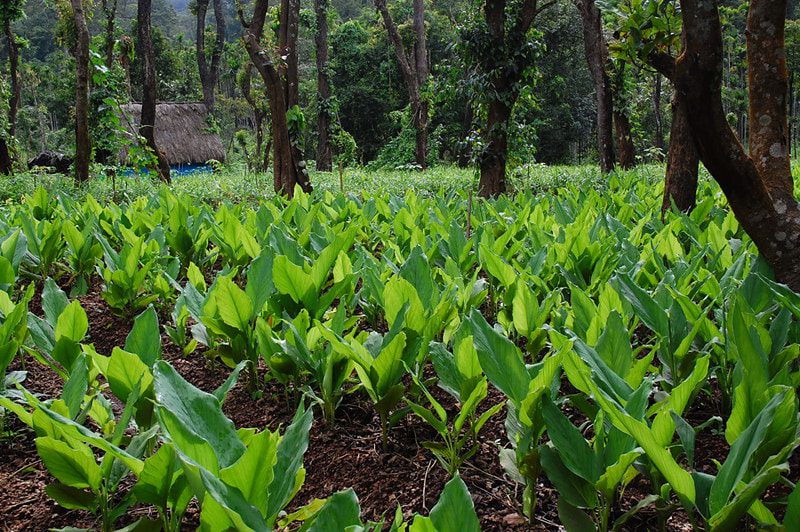
People are crazy about curcumin these days, the identified "active constituent" of Turmeric, but did you know that all the constituents minus curcumin possessed more anti-inflammatory qualities than just curcumin alone? This doesn't surprise us - the power of plants lies in the matrix of 1000s of plant compounds all working together to deliver balanced, effective medicine.
RECIPE
| 2/3 c applesauce 2 eggs (2 flax eggs subbed here work beautifully!) 1/3 c coconut sugar* 1 tbsp coconut oil, melted 1 tsp vanilla 2 tsp apple cider vinegar 1 c almond flour ½ c finely shredded coconut 1 teaspoon baking soda Hefty pinch sea salt 1-2 tsp turmeric powder (depending on how gold you want them!) 1 tsp cinnamon 1 tsp ginger Pinch nutmeg Pinch black pepper | 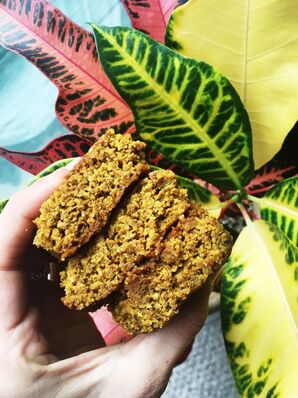 |
Grease and a 9” round cake pan or muffin tins and “flour” with coconut sugar.
In a medium bowl, mix together the first 6 ingredients well. In the same bowl, add the flour, coconut, baking powder, salt, and spices, making sure you evenly mix all the dry ingredients before folding them into the wet (you can definitely do this in 2 bowls, I just find that if you are thorough, there is no need to dirty another bowl).
Using a spatula, add the batter to the muffin tins or cake pan. Sprinkle with more shredded coconut, pumpkin seeds, or chocolate chips - whatever suits your fancy!
Bake for 30 minutes if using a cake pan or 15-18 if using muffin tins.
Remove from the oven and let cool completely before transferring to a storage container to store in the fridge. I love these best right out of the fridge with a dab of Kerrygold butter and sprinkle of sea salt. Or you can top with toasted coconut flakes!
*You can try substituting other sweeteners here or even leave it out all together!
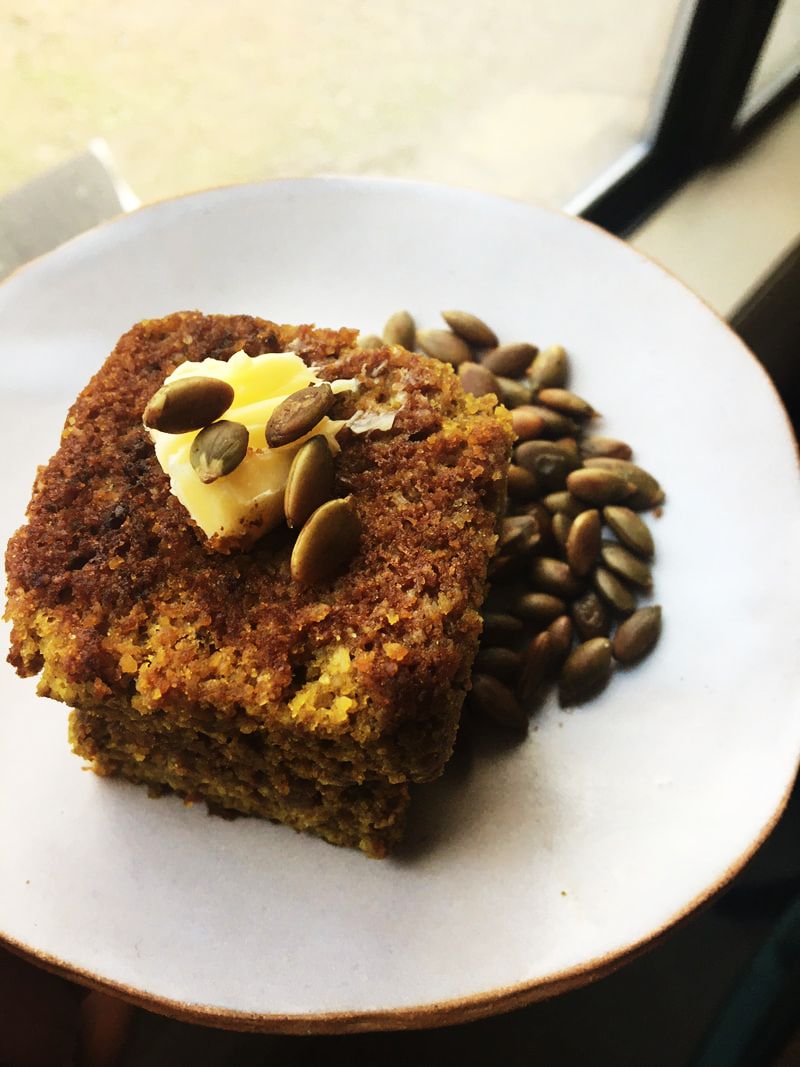 KERRYGOLD BUTTER & SOASTED PUMPKIN SEEDS! | 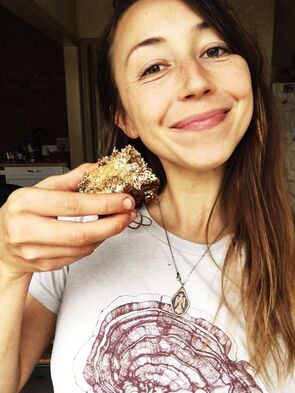 TOASTED COCONUT YUM YUM! |
This creamy "nut butter" made from sesame seeds is a fraction of the cost of almond butter - with a much smaller environmental impact! Though from a tiny seed, tahini's nutrient density is impressive:
-Compared to other seeds and nuts, sesame seeds have a very high fat (55%) and protein content (20%) by weight.
-Tahini is also particularly high in minerals, especially iron and copper. Studies have affirmed that tahini is a heart healthy food: it's high in lignans and its 2 primary fat compounds- sesamin and sesamolin- have showcased anti-thrombotic effects. So let's get to the good stuff - our Ta-honey Mustard Recipe! This sauce goes great as a dressing or a dipping sauce for meats, veggies, or chips!
garlic fermented honey* recipe below!
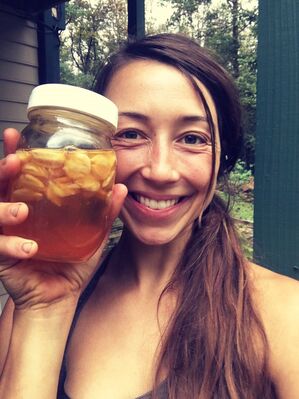 | Prepare 12-20 garlic cloves by using the side of a wide knife and giving a nice whack. You want the peel to loosen and the garlic to be slightly bruised but not smashed to pieces. Add the peeled cloves to a 12 oz mason jar and top with ~1 ½ cup raw local honey. Stir so that all the cloves are coated (whatever size jar you use, you want it ~1/2-3/4 full of peeled garlic and filled just beneath the brim with honey). It’s important to use raw honey so that the naturally occurring bacteria can facilitate the fermentation process. Plus it's better for you in general! |
Store in a cool, dark place for many moons. If kept sealed and away from heat and light, it can easily last 1 year or more! After I use up all the honey, I like to blend up the cloves in pestos and other sauces.
Oh, and they go great with coffee :)
Pay attention to the room temp ingredients- it makes a difference!
Ingredients
¼ cup unrefined coconut oil, room temp
⅓ cup coconut sugar ( or 1/4 c maple syrup)
1 tsp vanilla extract
1 egg, room temp
1 c nut flour (we like a combo of pumpkin and sunflower seeds. Simply pulse whole seeds until a grainy, coarse sand texture is achieved)*
1 c finely shredded coconut flakes*
⅓ c cocoa powder
½ tsp baking powder
Hefty pinch sea salt
Optional: ⅓ cup chocolate chips; extra coconut sugar for sprinkling on top of the cookie dough before baking!
*Depending on how runny the nut butter is, you may have to use ~½ cup more of dry ingredients.
Directions
Using a spoon or whisk in a medium bowl, mix together the first 4 ingredients until well incorporated (much easier when the coconut oil and nut butter are room temp!). Next, mix in the egg (again, make sure its room temp or it will cause the coconut oil to clump).
In another bowl or directly into the wet ingredient bowl, add the remaining 5 ingredients to the wet until a slightly sticky batter has formed. You want your batter to come off your spoon in a solid ball when you forcefully drop the batter onto your cookie sheet (like the motion of flicking of a whip, except with a spoon). As mentioned above, you may need to add more dry ingredients to achieve this texture. You can use your fingers to shape the dropped dough balls into uniform spheres, but I like the rough and chunky look. You can also sprinkle with more coconut sugar at this point.
Bake at 350 for 10-12 minutes until firm and slightly golden brown on the top and bottom.
Let cool a bit before transferring from Silpat to a wire rack with a spatula. These will store for up to 2 weeks in an airtight container kept in the fridge.
(They ain't gonna last that long though...)
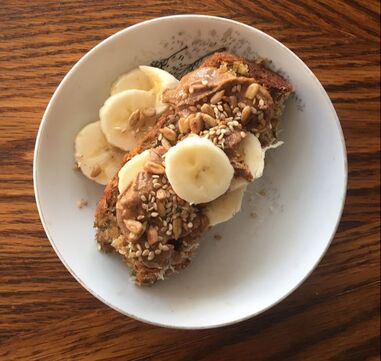
Ingredients
| 1 c almond flour ½ c oat flour* ¼ c cassava flour 1/4 cup shredded coconut 1 tsp baking soda ½ tsp baking powder 1 tsp cinnamon Hefty pinch sea salt (~1 tsp) 3 eggs ¼ c maple syrup 1 ripe banana, mashed 1/4 cup coconut oil, melted 1 cup zucchini, grated and excess moisture squeezed out | 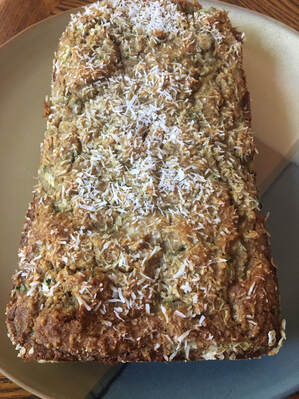 |
Recipe
Mix 1st eight ingredients together well in a medium bowl.
In another bowl, combine eggs, syrup, and banana. Slowly pour in melted coconut oil while stirring so you don’t scramble the eggs with the oil. Mix the dry ingredients into the wet with a large spoon or spatula. Fold in the zucchini.
Pour the batter into the prepared loaf pan. Sprinkle with extra coconut shreds and/or oats.
Bake for 35-40 minutes or until the top is golden and the loaf is set (stick a knife in the center and it should come out clean). Remove from the oven and let cool completely before serving.
*Use 1 ½ cups almond or cashew flour and omit the oat flour if making paleo
We adapted this recipe to be fitting for our students in the Restart Program, a guided 3-week vacation from sugar and processed foods. During this time, we retrain our bodies to burn fat - its preferred fuel - over carbs - the macronutrient that has been villianized by current fad diets but that actually holds tremendous value when consumed in the proper amounts (there is a that reason sweets taste so good!).
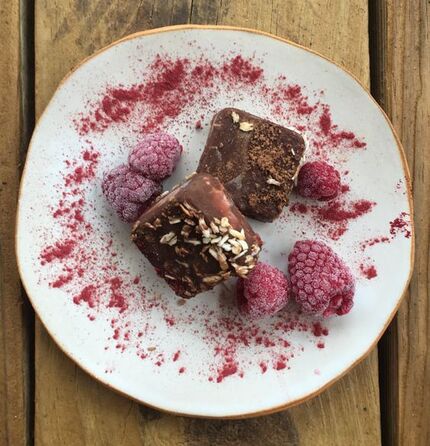
The addition of rose hip and licorice powder give a delightful herbal touch to these satisfying chocolates.
Licorice (Glycyrrhiza glabra) is known as the great harmonizer in several herbal traditions for its ability to enhance and round out the flavor and action of other herbs in formula. A little bit goes a long way with licorice, so treat it like you would sea salt. Rose hips (Rosa ssp.) are excellent cardiovascular aids and give a bright touch to the deep richness of the cacao.
Raspberry Rose Chocolate Recipe
Ready in 15-20 min (10+ minute chill time)
¾ c coconut butter
¼ c coconut oil
¼ c grass-fed butter
3 tbsp cacao powder
1 tsp vanilla
Sea salt
½ c coconut butter
½ c frozen raspberries
2 tbsp coconut cream/milk
1 tbsp rose hip powder
2 pinches licorice powder
2 tsp maple syrup
Sea salt
1 c toasted, shredded coconut
Chocolate Base
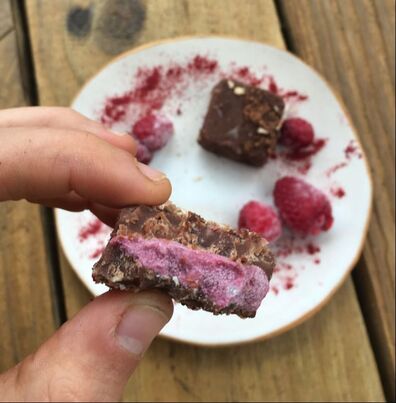
In a small pan, add ¾ c coconut butter, ¼ c grassfed butter, ¼ coconut oil, 1 tsp vanilla, and 4 tbsp cacao powder, and a pinch of sea salt and heat on medium low until everything is melted. Stir until everything is combined. Remove from heat. Set aside.
Raspberry Filling
1. Filling-In a small saucepan mix together ½ c coconut butter, ½ c raspberries, 2 tbsp coconut cream/milk, 1 tbsp rose hip powder, 2 tsp maple syrup, and a pinch of salt on med-low. Heat until coconut butter is melted and incorporating into the raspberries. Pour ingredients into a blender or use an immersion blender to blend well. Set aside.
Using a silicon ice cube tray, pour the bottom ½ of each cube with the chocolate mixture. Put this in the freezer so it is resting evenly and the chocolate sauce doesn’t cool crookedly in the ice cube molds. Let freeze for at least 10 minutes until the chocolate is set. Remove from the freeze and spoon ~1 tsp of the raspberry filling into each cube mold. Press ~½-1 tsp of toasted coconut flakes into the raspberry filling. Pour the remaining chocolate sauce over each mold so that the raspberry and shredded coconut filling is covered. Return to the freeze for another 10 minute at least to let that set. Remove from freezer and dust in a combination of cacao and rose-hip powder or toasted coconut.
OPTIONAL
Add 1 tbsp maple syrup to the raspberry filling
and/or
Add 2 tsp maple syrup to the chocolate base
In fact, prolonged inflammation is such a common source of pain and disease and it has been called “the root of all disease” in western medicine (1 in 3 Americans suffer from an inflammation-caused disease). There is some truth to this - but rather than simply treating inflammation on the spot, we are wise to look a bit deeper as to what is causing this prolonged inflammatory reaction.

Back in Roman times, Inflammation was defined by 5 characteristics: redness, aching, swelling, heat, (calor, dolor, rubor, tumor) and loss of function. Have you ever felt any of these in an injury? Sometimes, if an injury (internal or external) is unable to heal, the long-term affect is illness. And to be clear, an injury doesn’t have to be something as clear as breaking your leg. Injuries can look like lingering damage from a bad cold, knicks in your arteries from clunky blood, or most commonly these days - chronicaly inflamed guts from eating foods our body doesn’t understand how to digest. A few examples of inflammation induced diseases are: arthritis, asthma, cardiovascular disease, Crohn’s disease, diverticulitis, Irritable Bowel Syndrome, MS, and fibromyalgia.
The goal is to allow an inflammatory response to do its job. As soon as you see signs of inflammation, address them before chronic inflammation takes hold yielding much more complicated problems.
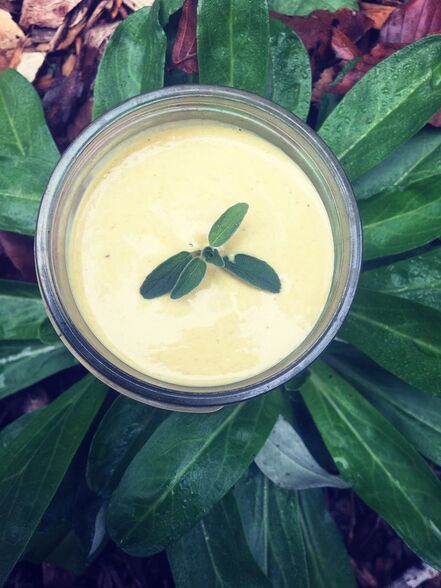
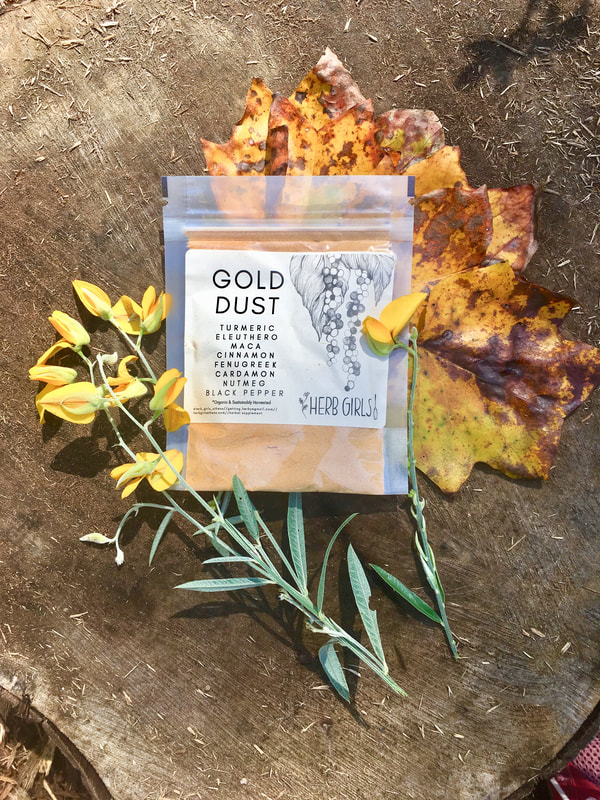
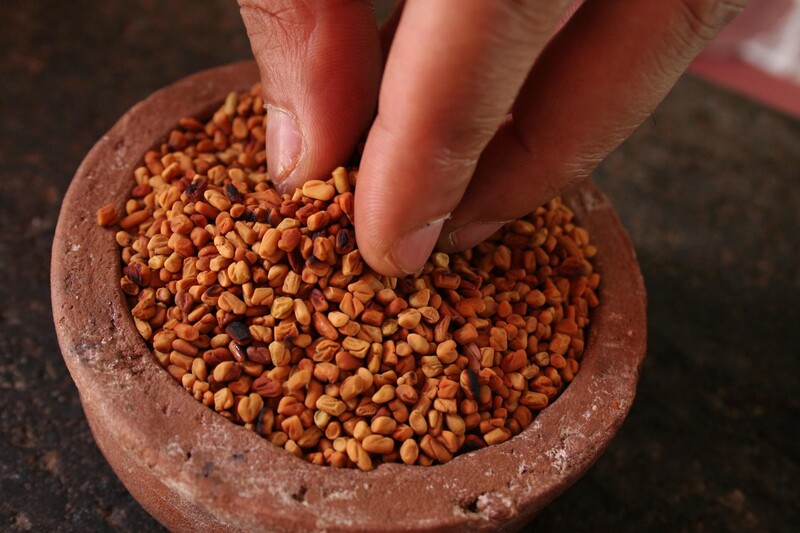
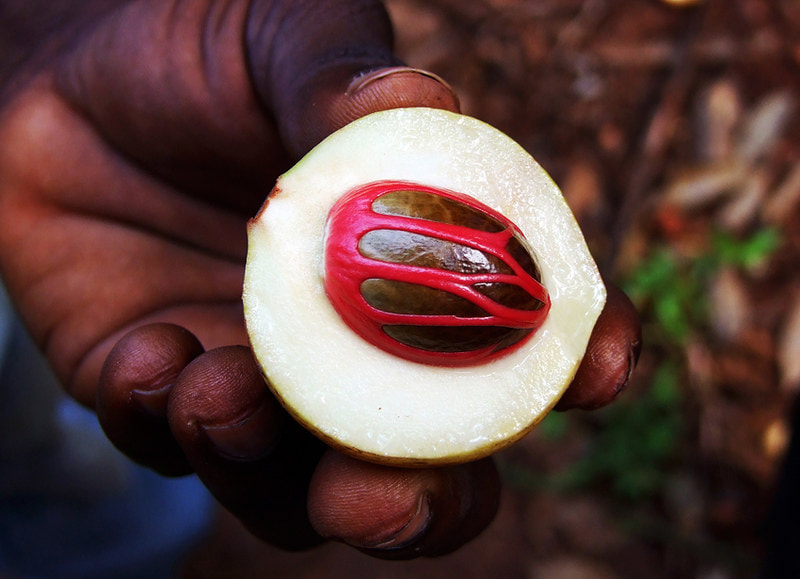
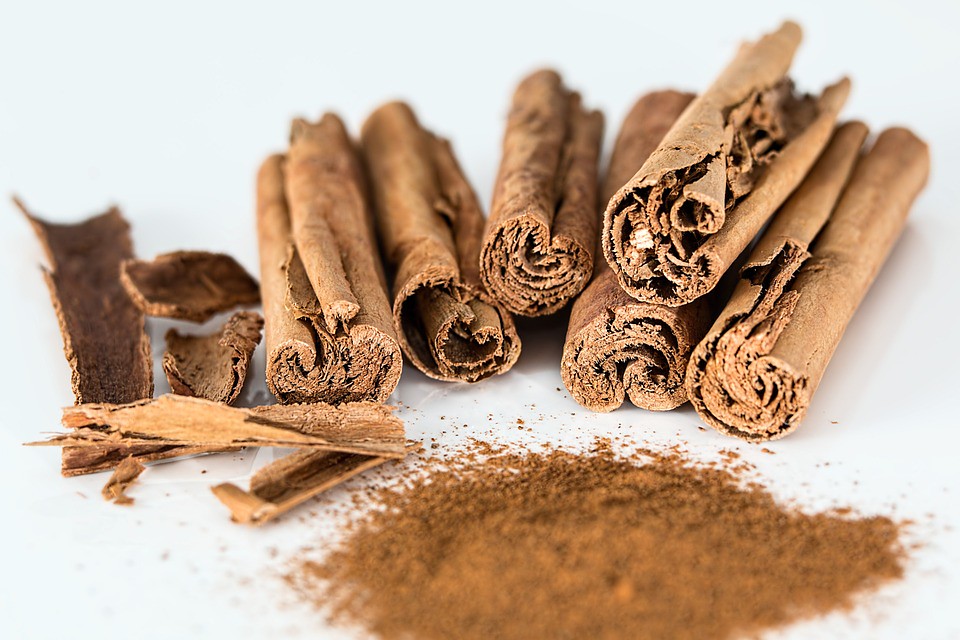
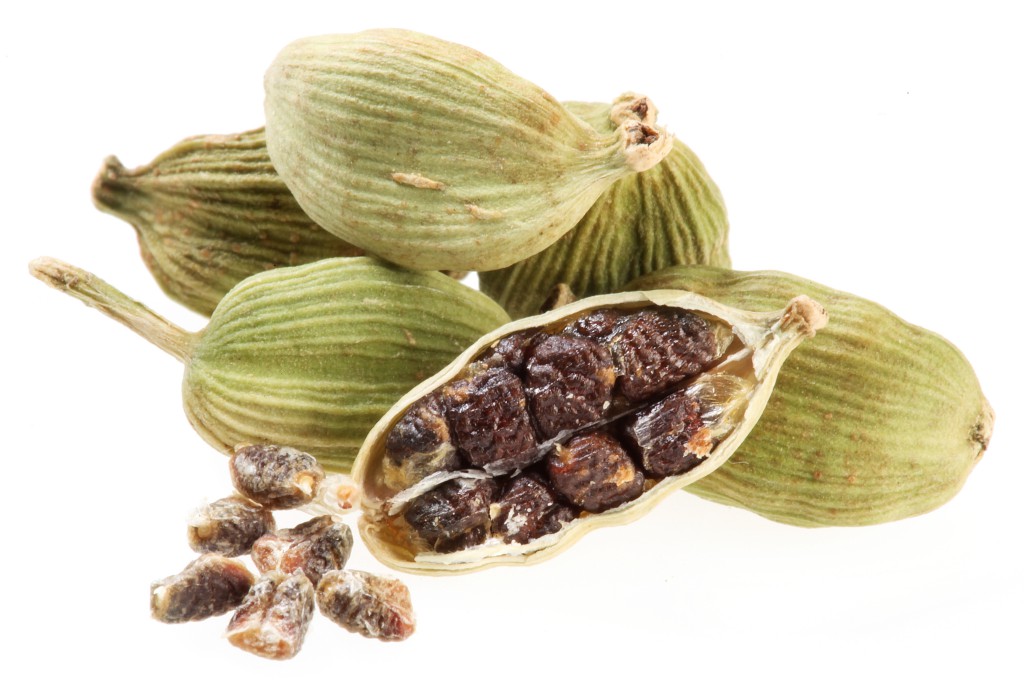
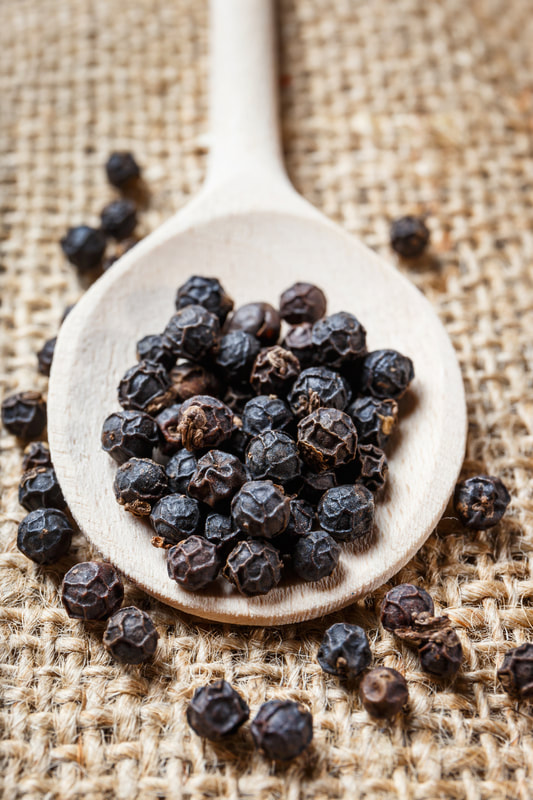
Apart from addressing diet and lifestyle factors, we have a favorite anti-inflammatory drink that is well-balanced and therefore pleasing to the majority of constitutions out there. We call it GOLD DUST and it features Turmeric, Eleuthero, Fenugreek, Maca, Cinnamon, Nutmeg, Cardamom, and Black Pepper.
How to Make the Perfect Cup of GOLD DUST
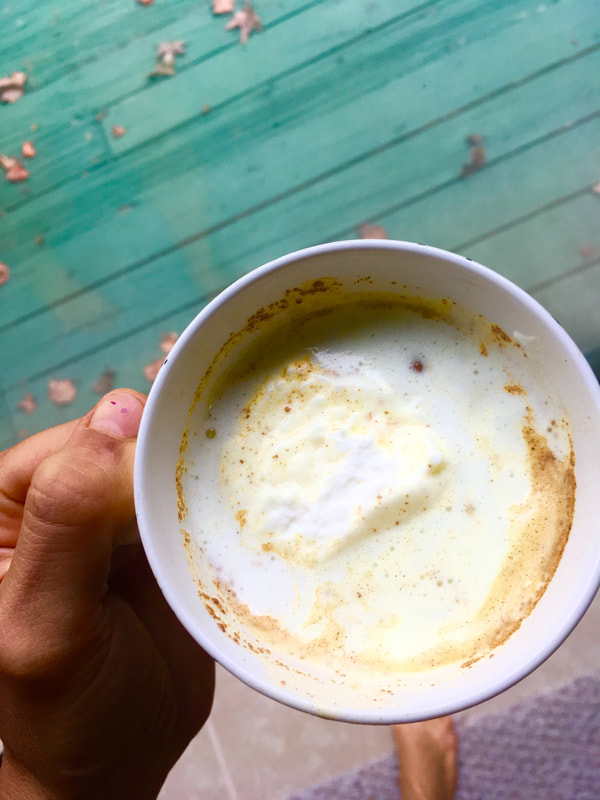 |  |
THE ATHLETE- Bring 8-12 oz of filtered water to a simmer in a saucepan. Meanwhile, add 1 tsp of Gold Dust to a mug. Cover with simmered water, 1 scoop collagen (coupon code #OCEANLOVE for 10% off!), 1 tsp coconut oil, coconut butter, or MCT oil. Use a hand frother and froth to perfection (alternatively, mix it up in a blender). Top with a pinch of cayenne and cinnamon. Enjoy after a workout or to nourish you on busy mornings.
THE COLD SHOULDER- Mix 2 tsp of Gold Dust and 1 tsp honey or maple syrup in ~1/4 c very hot filtered water until completely incorporated. Add 12 oz of your favorite cold milk (we like almond or coconut for this). Blend up with some ice and enjoy on a sunny day.
The Herbs In Gold Dust

Well, ketosis is pretty cool for a number of reasons. Whether you are aware of it or not, your body has likely entered ketosis from time to time.
We enter ketosis in 2 scenarios:
-when we deprive our bodies (almost completely) of glucose
-when we fast for ~12-15 hours
Ketosis isn't an all or nothing deal. We can be in mild or full-fledged ketosis, or not at all. When glucose isn't available as a result of one of the above scenarios, Ketones are created as an alternate fuel. At this point, some interesting things happen.
In even mild ketosis, our antioxidant production is ignited (up to 150 g antioxidants/day). Ketosis also stimulates the production of beta hydroxybutyrate, the ultimate source of fuel for mitochondria. These guys are the powerhouses of our cells and when they aren't firing correctly, you can expect disease to set in. Ketones help mitochondria produce ATP. By increasing ATP, ketones reduce the generation of free radicals, increase production of endogenous glutathione, and act as an anti-inflammatory agent.
Ketones also reduce inflammation and oxidation throughout the body but especially in the brain. This is because the brain rapidly takes up ketones, an easily digestible fuel source that is small enough to cross the blood brain barrier (the liver converts MCTs to ketones). If ketones are present even at low levels they increase cerebral blood flow as much as 40%. Studies have shown that increasing ketones is a great strategy to block ionizing radiation and for controlling tremors.
To maximize ketones:
-Reduce carbs. This doesn't have to look like cutting them out completely. In fact, having such a stark transition from a carby diet to none at all can cause some crazy symptoms like the carb flu, the keto rash, and other undesirable effects. Be gentle with your body and remember that it doesn't like extremes but rather thrives in moderation. We like to follow the diet recommended through the RESTART program, allowing for non-starchy vegetables and low sugar fruits while avoiding starchy carbs, refined sugars, grains, and processed foods (RESTART will be offered again in January 2020 Athens, GA peeps!)
-Use a form of intermittent fasting by eating in a 6-8 hour span. This could look like not eating after 7 pm and waiting until 11-noon to eat your first meal the next day. Use MCT oil, grass fed butter, coconut butter, or coconut oil in your coffee or tea to sustain you until your first meal
-make these keto muffins! Recipe below :)
KETO MUFFINS
Ingredients
1/4 c olive or toasted sesame oil
½ cup tahini (on the runnier side is best-we love this kind)
1 c raw cashews
½ c raw pumpkin seeds
2 tsp apple cider vinegar
1 tsp sea salt
1 tsp baking soda
1/4 tsp baking powder
Sesame seeds and/or pumpkin seeds to garnish
Directions
Add all ingredients listed in order to a food processor or high powered blender. Blend well until you have a completely smooth, creamy batter. Use a spoon to drop the batter into the greased and floured muffin tins. I find a spoon the easiest tool to work with. Continue adding more batter until all 12 muffin holes are filled up (all the batter should be used up at this point).
Top with sesame and flax seeds and put on middle rack in oven for 35 minutes. Let cool for 10 minutes before popping out your muffins. Let cool completely before storing in an airtight container in the fridge for a few weeks or the freezer for much longer. They will last on counter for 3 days. I like to have these on hand for a quick breakfast with an egg or smothered in your favorite nut butter.
Eileen Brantley & Amy Wright
We are Herb Girls Athens, LLC. Read our blog!
Archives
November 2022
July 2022
March 2022
November 2021
October 2021
September 2021
August 2021
July 2021
February 2021
January 2021
November 2020
October 2020
September 2020
June 2020
May 2020
April 2020
March 2020
February 2020
January 2020
December 2019
November 2019
October 2019
September 2019
August 2019
July 2019
June 2019
May 2019
April 2019
March 2019
February 2019
January 2019
December 2018
November 2018
October 2018
September 2018
August 2018
July 2018
Categories
All
Adaptogens
Adrenals
Autoimmune
Beauty
Digestion
Dump The Detox
Elimination Diet
Fitness
Food
Food Preparation
Guest Blogger
Gut
Herbalism
Hormones
Immunity
Keto
Lymph
Materia Medica
Motivation
Natural Products
Nutritional Therapy
Oral Health
Paleo
Pregnancy
Recipes
Stress
Weight Loss
 RSS Feed
